M-brane is today’s build. Aren’t you jazzed? Wait… you’re confused? Because I already built this Advanced Yarns? Dear reader, don’t you fret. You can ALWAYS use more MIDI-CV modules, just like VCAs. As a rule of thumb I go 2:1 on my VCA to MIDI-CV module ratio.
Just kidding. Look at my pictures.
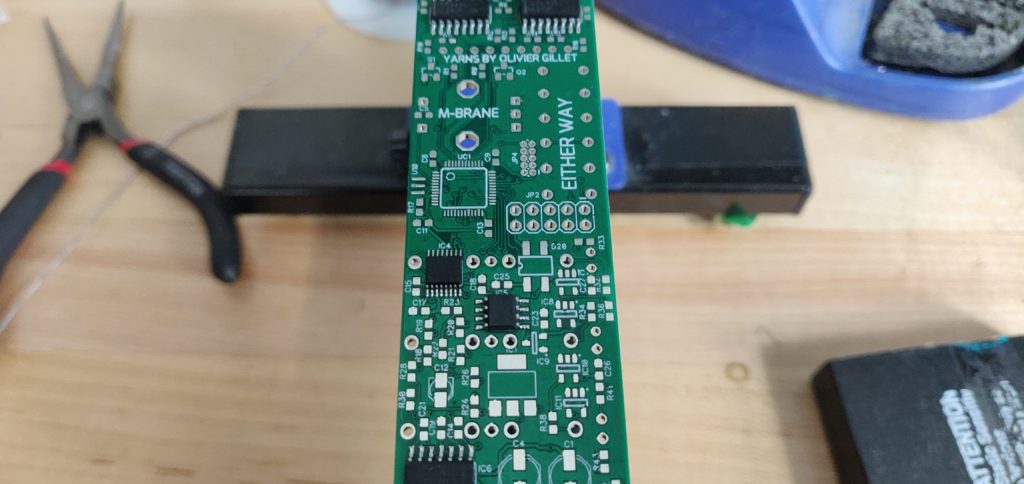
Ready to rock. Sadly, this is about as clean as my desk gets.
I decided to build this guy for a few reasons. First, I had the PCB and parts laying around. Second, jakplugg. Third, I thought it would be cool to have ANOTHER Yarns module in this tight little form factor. Fourthly, gotta get these hands ready for the big boys coming up. SWN, LYRA-8, Deckard’s Dream, OH MY.
Build
Build went smooth…ish, we’ll talk more about the -ish later.
As always when working in tight spaces like this, take a good long look at the board and plan your attack. Start with the smallest components, work your way up.
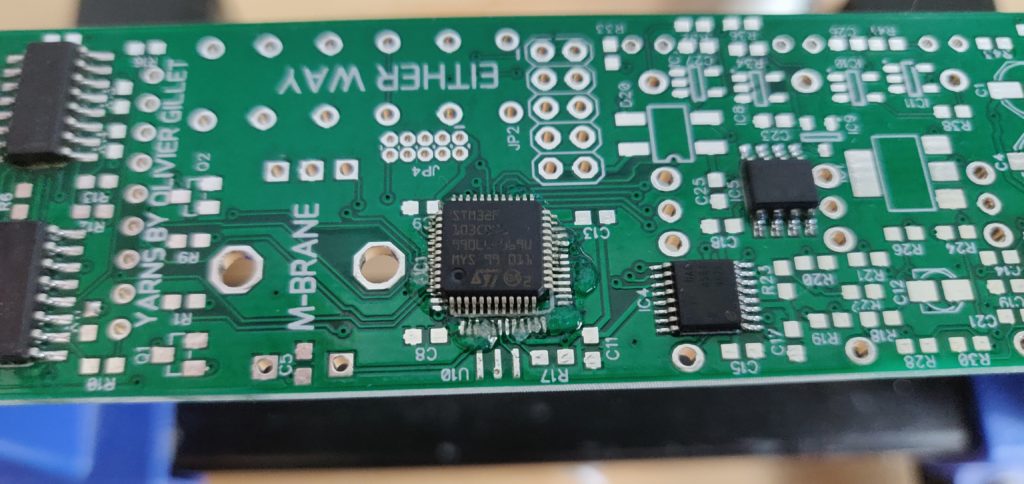
Shook the rust off quick, look at that DAC solder job! Just beautiful.
It had been a while since I soldered a QFP, but with a lot of flux and a some drag soldering, it went in without fuss.
If you're reading this, it didn't go in "without fuss". It took me 40 minutes, what a nightmare. But I have to keep up my steely DIY appearances for this blog.
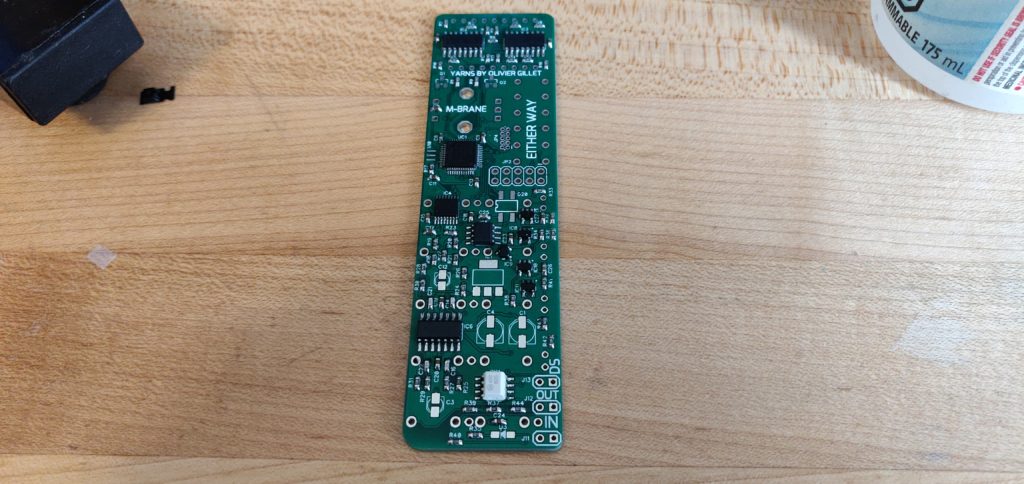
After the IC dropped in without fuss, all the passives got soldered up and we were ready to do some testing!
Everything looking good! Multimeter test checked out. Time to finish up the soldering.
In the home stretch it was all looking great, I even learned about Opto-Couplers! (I’ve been calling them octo-couplers!). But once everything was soldered down.. there was some weirdness. I decided to power it up to test.
That was a mistake.
RIP brave power supply.
After blowing the power adapter, I was confused. The build looked beautiful, no visible soldering issues anywhere. WHAT ON EARTH COULD HAVE GONE WRONG? HOW COULD YOU JAKPLUGG.
Troubleshooting
So what now? After being despondent for a few hours, I pulled out my multi-meter and got to work. Luckily no magic smoke was released from the PCB itself, so I had hope.
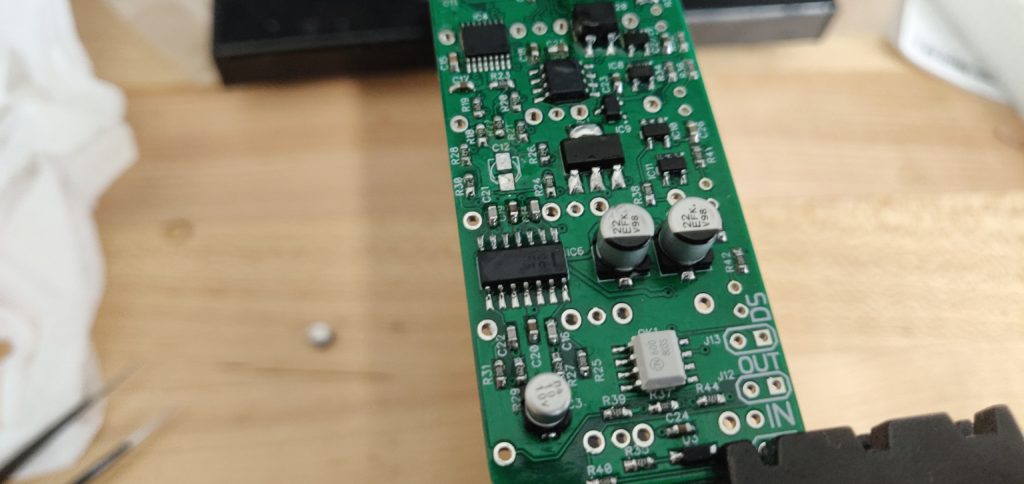
After some probing, it seemed like one of the power rails was shorted to ground. All the solder work looked fine… but there was some issues fitting the 10u electrolytic caps on their pads. And wouldn’t you know there was some continuity where there shouldn’t have been on a little cap right here at C12:
Once the capacitor at C12 was removed, there was no longer a short to ground. AHA. We found our issue.
Once the cap at C12 was removed, the short to ground disappeared. I replaced the cap being very careful not to short the pads, and now the thing powers up beautifully! Power hits the ICs in all the rights places with all the right amounts of juice. Gotta love it!
Time for flashing.
Flashing and TRS Headaches
Once everything was together, I flashed the chip through the JTAG header. I picked up a tip from a MuffWiggler user and I just placed the JTAG header in without soldering. The connection was solid enough for a quick flash. Better than having to solder those little pins!
One note about this process, I had to use the reversed gates firmware for the PCB I received. This was fixed in later PCB runs, but the PCB I received had the reversed gates issue.
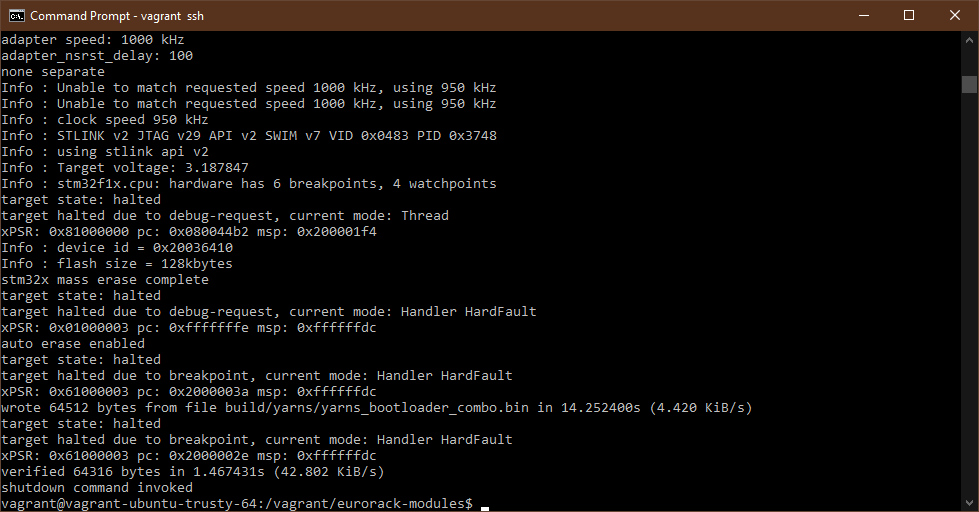
Always a nice screen to see. Flashed and ready to rock!
After the flash, just gotta get the hardware onto this little pup, and we’re off the races! Right?…
Hardware, ready for some hot hot solder.
Right?… Just a little flash and were good to go?
You would hope this thing is good to go! But sadly, there are MIDI TRS standards.
NOPE. OF COURSE NOT. IT WOULDN’T MIDI-CV FOR ME.
Sorry for being dramatic, I just had a hell of an afternoon with TRS MIDI cables. I have 3 different cables, 2 which didn’t work, the 3rd worked perfectly. Turns out I needed the Arturia pinout all along.
Could I have saved the headaches by making my own cable, or testing the cables I had with a multi-meter? SURE, SMART-ASS READER.
Sorry, I shouldn’t take my frustrations out on you, humble reader. Thank you for putting up with my outbursts.
Either way, make sure you have the proper cable for your module. The newest revision of the M-Brane accepts both cable types, or so I’ve heard. Jakplugg is out there just beefing up hardware left and right, I wouldn’t be shocked if the next M-Brane revision solves world hunger.
It works! What an MIDIventure!
And that’s it, that’s all! Thanks for hanging around. Sorry the posts haven’t been as consistent lately. Life and what not. You know how it goes reader, you just GET me.
Here are some quick and dirty links, have yourself a saucey week my friends!
Mouser Cart – I included the stereo jacks here, but no thonkiconn jack’s. This is the BOM I used to build my M-Brane. While I’m positive everything is there, no guarantees! Use at your own risk, always double check.
Advanced Yarns Build – this here is my build of another Yarns module. TBH, M-Brane is my “winner” as far as Yarns redesigns go. Small is better than the features Advanced Yarns gives you. Just my two opinion cents!